Game Production
- Solar Chin
- May 28, 2024
- 3 min read

Updated: Jun 3, 2024
First, I imported all the sprites into the game. Then added applied 2D texture to make sure it would work in the game and made it into a flip book.

Here I individually selected some of the frames and deleted them, then adjusted the frame rate to make it smoother for the gameplay.

Next, I added the flipbook to the blueprint and assigned it to the 2d SIDE SCROLLER character. This would assign it to the correct code commands and make the character flipbook do as the predesigned code said.

For the enemies, it was a similar process. Start by making a new folder in [Contents] then import all the chopped up frames of the enemy spritesheet into the new folder. Unreal will ask it to import directly into the game, then make a flipbook and assign it to the pre-existing enemy blueprint.

Here, I imported the soundtrack music I made and put it into the game so that when you press play,
it will load.

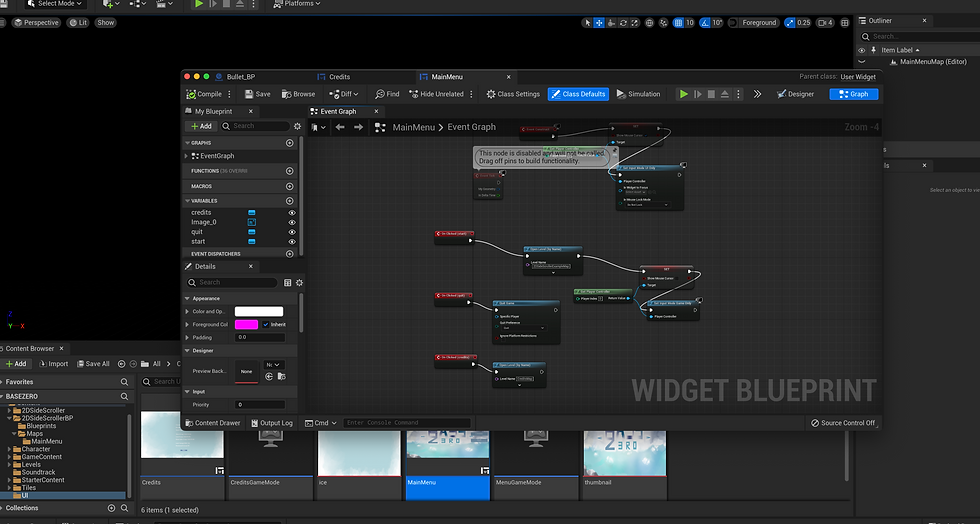
Here, I worked on the main menu screen and the credits page, I also later added keyframes for the text to slowly roll up.
First I added a [canvas], then my background using [image], then [text] and lastly [button] (s).

Afterwards, I created a new command for each button to open up the right page by creating a [Clicked on Button ] to [Open Level (by Name) __] to 'MainMenu' and set the other one to [Quit Game]. The mouse had a bug where it would disappear upon pressing the background of the main menu page and not disappear in game, so I solved that by [Set input mode Game only] to 'player controller].

For the main menu, I created a new level and set it to that code scene. Therefore to make the credits page I created a new seperate level with the same layout and linked it through to the main menu page by using a button and also [Open Level (By Name)] to 'credits'. I also copy-pasted the same mouse input commands to the credits blueprint so the mouse problem wouldn't effect this page too.
This was some of the blueprint for the projectile animation. I did this by creating a new input called 'Shoot' then a new variable called 'Shooting' and a custom event called 'atkshoot'. Then creating a branch to set the true or false values to each respective flipbook for the projectile and idle for false. I found that the character would keep moving after shooting so I also added [stop movement] command to the 'true' line.

This was a set of commands in the blueprint for the pause menu. Here I binded [esc] key to [flipflop] which will esentially create toggle for pressing once or twice. If [A] then the pausemenu would be set to [viewport] which allows the player to see the screen and interact with it and also connect it to [set game paused] which pauses the game while the menu is active. I found that the mouse cursor disappears which I fixed by adding a [set: show mouse cursor] to be ticked so that the cursor appears on the menu.
If flipflop is [B], the widget is [removed from parent] which means it removes the pause menu from the view port and linked to [set game paused] unchecked which means it resumes the game. Then linked to [show mouse cursor] unticked.

Lastly, I created a respawn point. This was assigned in the 2DSideScrollerCharacter blueprint. First, a custom event called [Death] is created and linked to [Destory actor] meaning that the character will disappear upon dying. Then a seperate command called [Event Destroyed] is linked to [GET] and [Get Actor Transform] and lastly to [Respawn Player] which means the character will respawn upon being destroyed. I also then created a seperate respawn actor and linked its blueprint to the character; by placing it where the character first spawns, this allows the character to respawn back to the original point when falling or dying.


Comments